Have you heard of 3D printing Lego bricks? 3D printing has made it possible that every Lego fan can print their Lego accessory manually without purchasing. Certainly, those with fun-filled childhood would have had a Lego collection probably tucked away somewhere by now. Imagine recreating those pieces of toys, and Lego accessories may be for children, to uptick an old collection or to create something special: medieval castles, western ranch, spaceships, or submarines. Obviously, they cannot use the same methods used by Lego – melting rubber at school high temperature and forcing it through a mold.
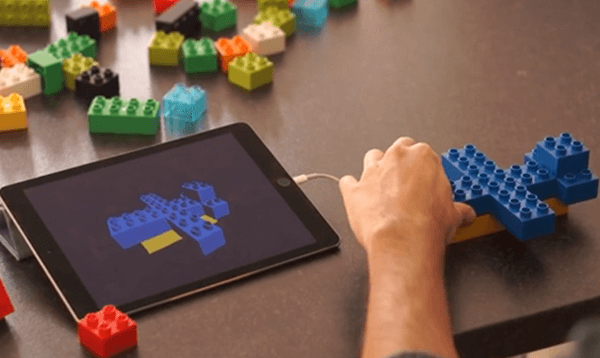
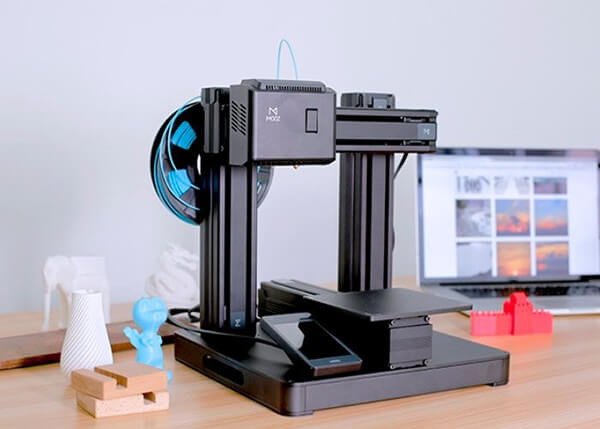
Interestingly, with the advancement in technology, any Lego fan can create their own accessories with a 3D printer like DOBOT Mooz. All you need is a design and a 3D machine.
3D Lego Print
3D Lego print is simply using a 3D machine (DOBOT Mooz) to fabricate, make or print their desired plastic or metal Lego accessories at their own convenience. The benefits are enormous, they can pick a Lego accessory and fine-tune it to fit what we have in mind, or reinvent an old-forgotten Lego accessory. However, another benefit is that Lego fans don’t need to buy a Lego accessory anymore, rather they can print it themselves.
Also, they get the chance to do it themselves - manually create the accessories they want and get the satisfaction of doing that. Having heard of 3D printing Lego bricks nevertheless, I will paint a clear picture. 3D printing uses components or materials of plastic or metal to build, fabricate or print designs given to it (through a computer) layer-upon-layer. They can envision it as their ordinary printer but, in this case, it prints upwards; which creates three-dimensional products (accessories in this case) in the end.
Consequently, with 3D printing, they can print complex Lego accessories quickly with their desired quality.

How to create a 3D Lego print
Surely, they would love to create their first 3D Lego accessory, but don’t have an idea what to create? I have made it very easy for them. Let’s begin with the materials required for your 3D Lego print:
A Tazbot 3D printer
SolidWorks
ABS plastic and Mooz
Step 1
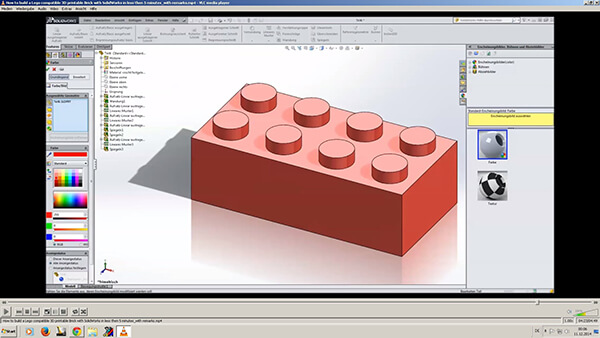
Launch SolidWorks application on their computer, click file > new > part to begin their design.
Step 2
They should start their sketching from the top plane, to create a Lego brick that looks like we are looking down on it. After selecting the top plane, draw the base of the Lego brick; begin a sketch, and then click the center rectangle option on the top left corner of the window.
Step 3
Having drawn a rectangle next is to define the sketch. Use the smart dimension to define the rectangle into 16 mm x 16 mm, at the top left corner of the window of the rectangle sketch tool. Make sure the sketch is black which indicates it's fully defined, to avoid issues when modeling the sketch.
Step 4
After defining the sketch, the next is to extrude it. Using features in the toolbar under the top screen, select the extrude base/boss option. Then, select the rectangle sketch to extrude it, extrude towards the right direction. Afterward, dimension the rectangle to 10 mm now click the green check button.
Step 5
At this point, they need to start the circles. Select the Lego brick sketch top part, find the label of the Boss-extrude from the left menu, right-click then choose 'normal to', now click the circle sketch tool.
Step 6
Draw one circle. While sketching the circle, forget about the specifics, as the smart dimension tool will fix everything later on. The circle's dimension should be 4 mm to each side of the Lego brick.
Step 7
Using the mirroring tool, create other circles, using the mirror entities sketch tool. Begin by making two center lines to use as the mirror line, create the two centerlines, and use the line tool from the drop-down menu. Position the two center lines around the red origin that runs horizontally and vertically or from the mid-point on the box.
Next is to click the mirror entities tool, which pops up an entities mirror box, here select the dimensioned circle as the mirroring item.
Then, select the mirror box and select the perpendicular line to mirror the initial circle, repeat the same process to mirror the remaining two lines.
Step 8
Extruding circles: create the top side of the Lego brick to make it stackable. First, highlight the circle created with the mirror tool, and then extrude them upwards by 2mm.
Step 9
Hollow out the brick, by selecting the Lego brick underside. Select the Lego brick underside, and select the shell option at the feature toolbar center to hollow out the brick. Then, select the bottom of the Lego brick and dimension to 1 mm.
Step 10
Build the extra stacking piece, then create the bottom of the Lego brick and make it stackable. To do this, highlight the brick's bottom and choose the circle drawing. Make the circle in relation to the red origin; dimension the circle's diameter to 5.40 m.
Step 11
Use offset entities from the toolbar to create a circle. Importantly, overturn the direction of the circle so it offsets at one millimeter away from the first circle.
Step 12
Shape the 2 circles inners side to form the last piece.
Step 13
Save the work. After completing the steps and defining the sketch, save the part as an STL file from the top-down menu.
Step 14
Now to 3D printing Lego bricks, for the Tazbot 3D printer, click on the “Cura control panel” at the upper left corner; enter 240°C as the nozzle temperature, and 110°C for the bed temperature.
Step 15
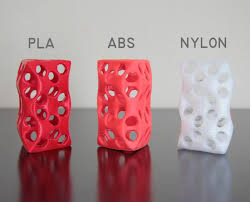
Setting things up, at the left side of the menu select "intermediate" for the material ease of use next, set the & material "as ABS (Village Plastics)" then set the quick print profile to "standard".
Step 16
Uploading the file, click on the box "Load Model" at the upper left corner, then click on the model created.
Step 17
Position your model and place the object where you want it on the printing bed using the three commands (Scale, Mirror, and Rotate) at the bottom. Place the object so most of the surface area is on the printing bed.
Step 18
Click "print" when everything is set.
Step 19
Keep an eye on your work until it's complete.
10 Lego Accessories that can be 3D Printed
You can print lego accessories with a 3D printer that are innumerable, and their models for printing in a 3D printer can be downloaded online on Thingiverse, Yeggi, Tinkercad, and Turbosquid.
Ten Lego accessories one can 3D Print are:
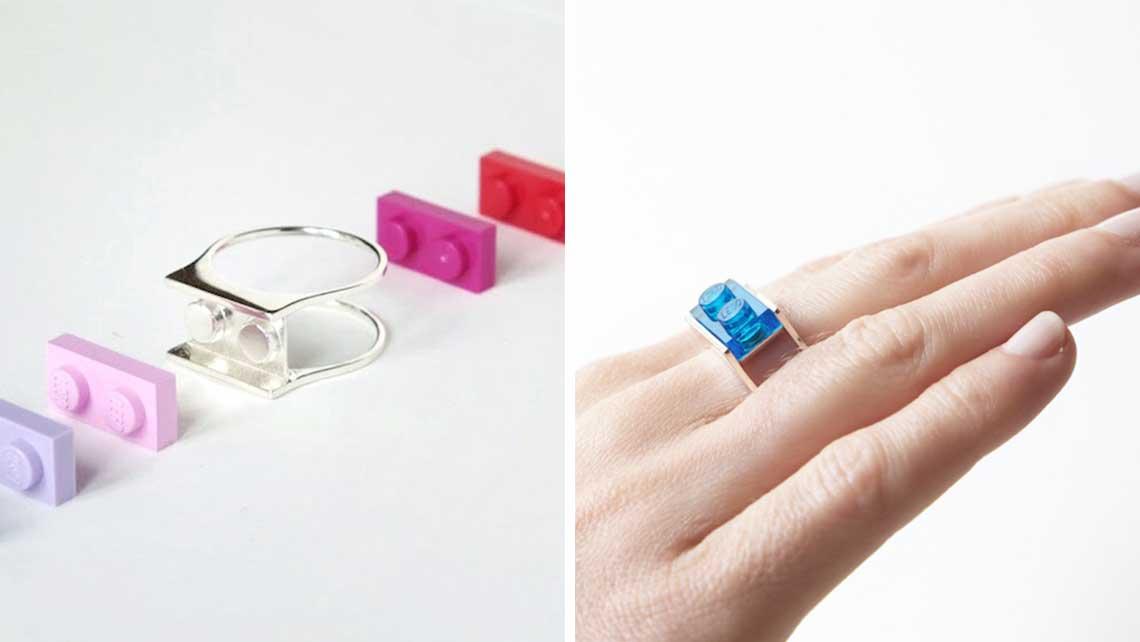
1. Customizable Lego Ring
2. Lego light switch plate
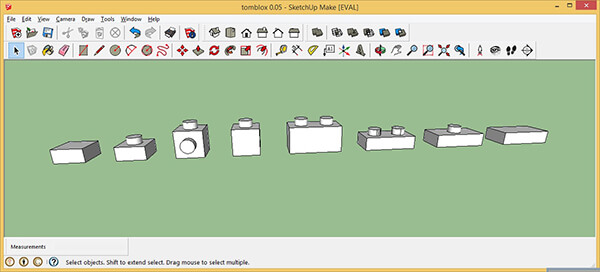
3. Curved and rounded Lego Bricks
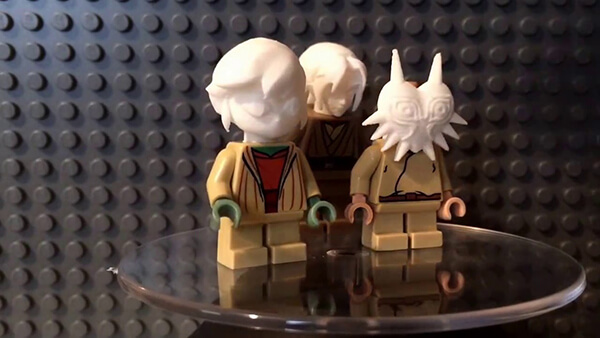
4. Lego giant superhero collection
5. Lego wheelchair
6. Lego zombie head
7. Lego head LED lamp
8. Lego train track crossing
9. Lego bowtie
10. Meeperbot Robotic Lego Base.
Wrapping Up
Here we have explained in detail how to 3D print Lego Bricks. So now it's time to practice making a Lego accessory. With the 3D printer (DOBOT Mooz), you can achieve CNC carving, laser engraving, and 3D printing with just a single machine. You can save costs to execute these functions independently. Don't you find it amazing?

 Metal Processing
 Automotive
 Food & Beverage
 Chemical
 Consumer Electronics
 Healthcare
 New Retail
 Semiconductor
 Welding
 Palletizing
 Loading and Unloading
 Assembly
 Bin Picking
.svg) Gluing
Gluing
 Insertion
 Polishing