3D printing has been the rage in the last few years when you can create real-life and real-size objects with the click of a mouse. Though many people are aware of it, many people still do not know how to use it. Once you've mastered the basics of 3D printing, you would be on your way to creating virtually any object you can imagine.

But for that to happen, you have to know and master a few things. You need to have the most powerful 3D printer and know the basics of the most reliable 3D printing software. One without the other is not of much use.
Let's explore our categories, how to master them and what they can do for you?
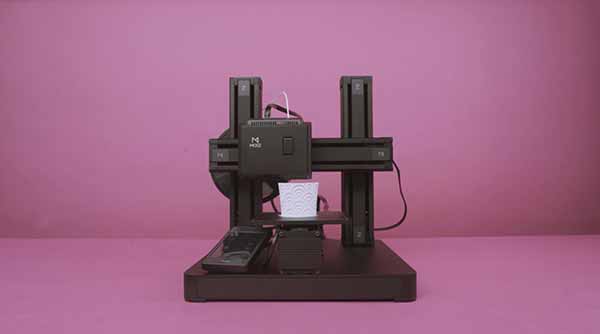
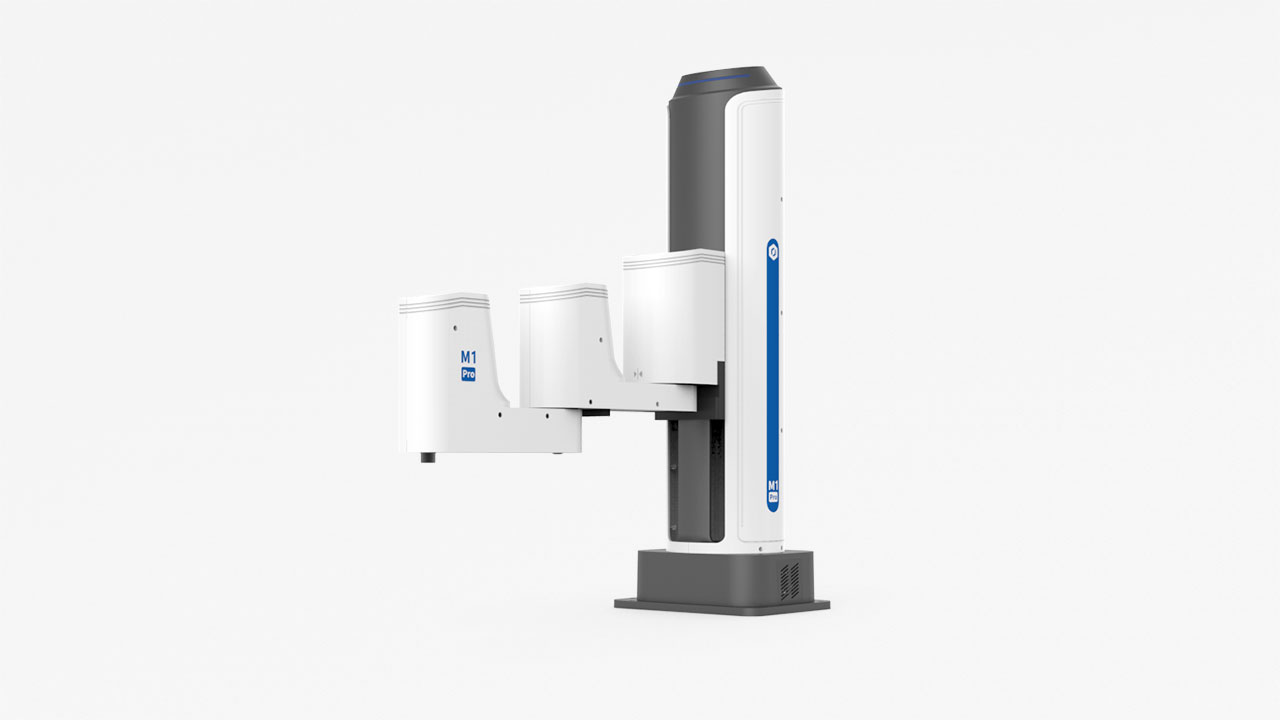
Mooz 3D Printer
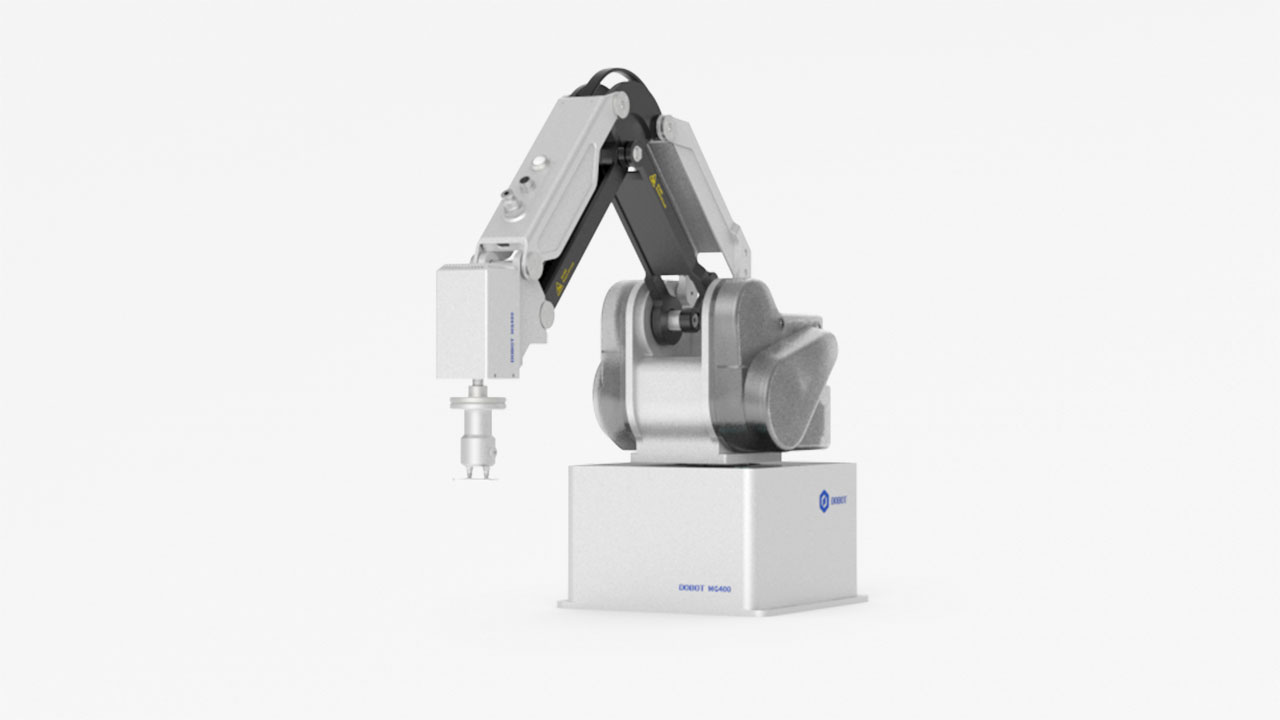
DOBOT Mooz is an industrial-grade printer for printing 3D objects. It has interchangeable heads, so we can do up to 3 different types of printing - 3D printing, laser engraving, and CNC Carving. This makes the printer highly precise and dependable in printing any object in 3D.
Now let’s explore how you can 3D print text with DOBOT Mooz:
-
Download the Appropriate Software

The first step in any printing, including both 2D and 3D, is that you would need reliable software.
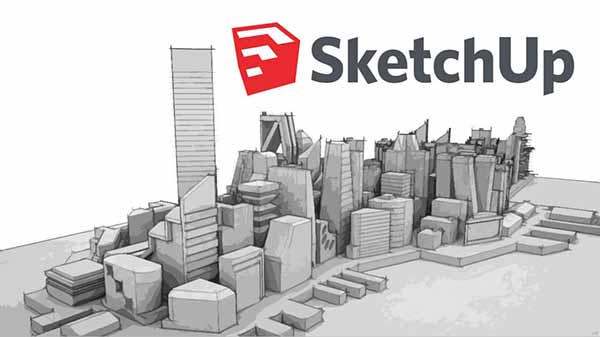
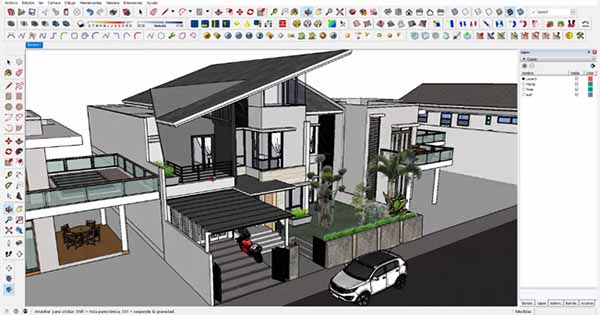
For Mooz 3D Printing, SketchUp is a great software to plan and accomplish ideas so that they can be printed in three dimensions. It is free of cost.
-
The initial steps
Once you have downloaded the SketchUp software, it will require you to perform basic steps before you start sketching.
Size: You have to select the size in millimeters or inches. This will have a direct influence on the final 3D output.
View: You then have to select the view - the side view or the top view. Select the view you are most comfortable with.
Once you set the basic parameters, let's go to the next step in printing 3D text.
-
3D Printing Text Guide
On the tabs at the top, click on the "Tools" button and then select 3D Text.
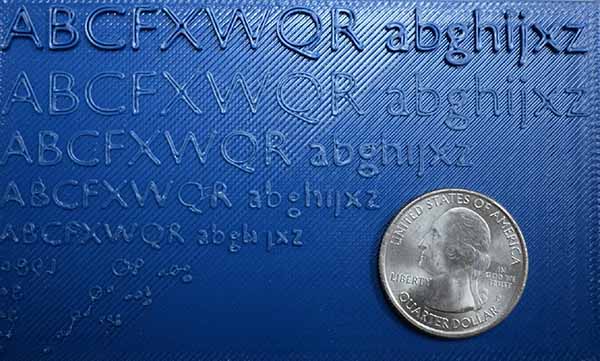
After this, enter the text you want to print into the box. Now select the fonts you want. The Sketch Up software will pull the fonts available on your computer. Now determine the height of the text and set it accordingly.
Under the "Heightfield", check the two form boxes - Extruded and Filled. The meaning of this is how long you would like the text to be.
If you are satisfied with your text and size, click on "Place" so that your text is ready to be placed in the workplace.
Now save the file on your desktop in case you want to use it in the future.
-
Making Adjustments to your Text
The next step is to give your text a bit of scale. To select the text, click on it; it will be covered in blue. Alongside, you will see green blocks. Just click on the blocks to push the text in or drag the text out.
The other features are the "Move" and "Rotate".
If you want to move the entire structure, select the text before moving the entity.
To rotate a particular text, you have to define a position at 0 degrees after selecting the face of the text, which is parallel to the axis. Thus, if you want to rotate "America" sideways, click on the end text's side, and the text will rotate sideways. For vertical rotation, click on the top of the alphabet, and it will rotate accordingly.
-
Create a Base
This is a crucial step when you proceed to the next step of 3D printing.
In this step, you have to first click on "Shapes" and then select "Rectangles". After this, select a point at the base of the text and then a diagonal point from the first point.
This is the base of the letters.
You can either "Push" or "Pull" the letters to give it the desired base shape of an optimum size.
-
Transport Your File
After you are done with the above steps, you need to export this file to an STL file format for 3D printing.
After that, download a free plug-in within the Sketch Up Software.
Select the files you want to export and click "Export To STL". Save your new STL files in a folder.
Using the STL Editor

Once you download the STL Editor, you are ready to crop your text for 3D printing.
Open the STL software and import the STL files you had saved earlier in your folders.
If there are any rough edges in the text, you can use the "Eraser". Alternatively, you can also use shapes if you want to extrude the text even further.
You can also use the Push/ Pull feature to make the text longer or shorter.
To move it around through its vertices, use the "Move" tool.
After you are done with the editing, save it again in the STL file format.
Now you can use the Mooz 3D printing to print your 3D text.
3D Printing on Mooz Printer
After you are done with the editing in the STL software, transfer the file to the Mooz printer device. As per your specifications in the STL file, putting a 3D object - plastic or wood on the printer's bed will be a better to choose.
Now give the print command for the process to start.
Depending on the size of the text, the time for completion may vary.
Finally, the 3D text is printed.

 Metal Processing
 Automotive
 Food & Beverage
 Chemical
 Consumer Electronics
 Healthcare
 New Retail
 Semiconductor
 Welding
 Palletizing
 Loading and Unloading
 Assembly
 Bin Picking
.svg) Gluing
Gluing
 Insertion
 Polishing